Rye Kvass
Recipe updated June 24, 2025Malty, ginger-spiced soda with a sourdough soul — fizzy, earthy, and just tangy enough to stay refreshing. The first thing you notice is the deep, bready flavor from fermented rye, like drinking liquid sourdough with a twist of spice. That rustic base gives way to a warm, steady burn of fresh ginger — not sharp, just quietly intense. The finish turns bright and almost lemony, with a light acidity that keeps it crisp. It’s like kombucha’s quieter, grainier cousin — more grounding than sharp, more fermented than fizzy.
Fermentation depends on many factors — the health of your ginger bug, room temperature, humidity, and the sugars you use. Every batch can behave a little differently, so stay observant and adjust as needed. If you see fuzzy mold on the surface, or if the drink smells rotten, yeasty in a bad way, or otherwise unpleasant, it is safest to discard it — do not taste it. Clean all tools thoroughly before starting a new batch.
Time required
10 min prep, 4–6 days fermentation until it reaches your desired taste. This doesn’t include the time to make the ginger bug starter.
Measurement system
Expected yield 3.0 liters
Ingredients
- 2.72 liters filtered water
- 100 ml rye-barley malt kvass wort concentrate
- 100 g refined sugar
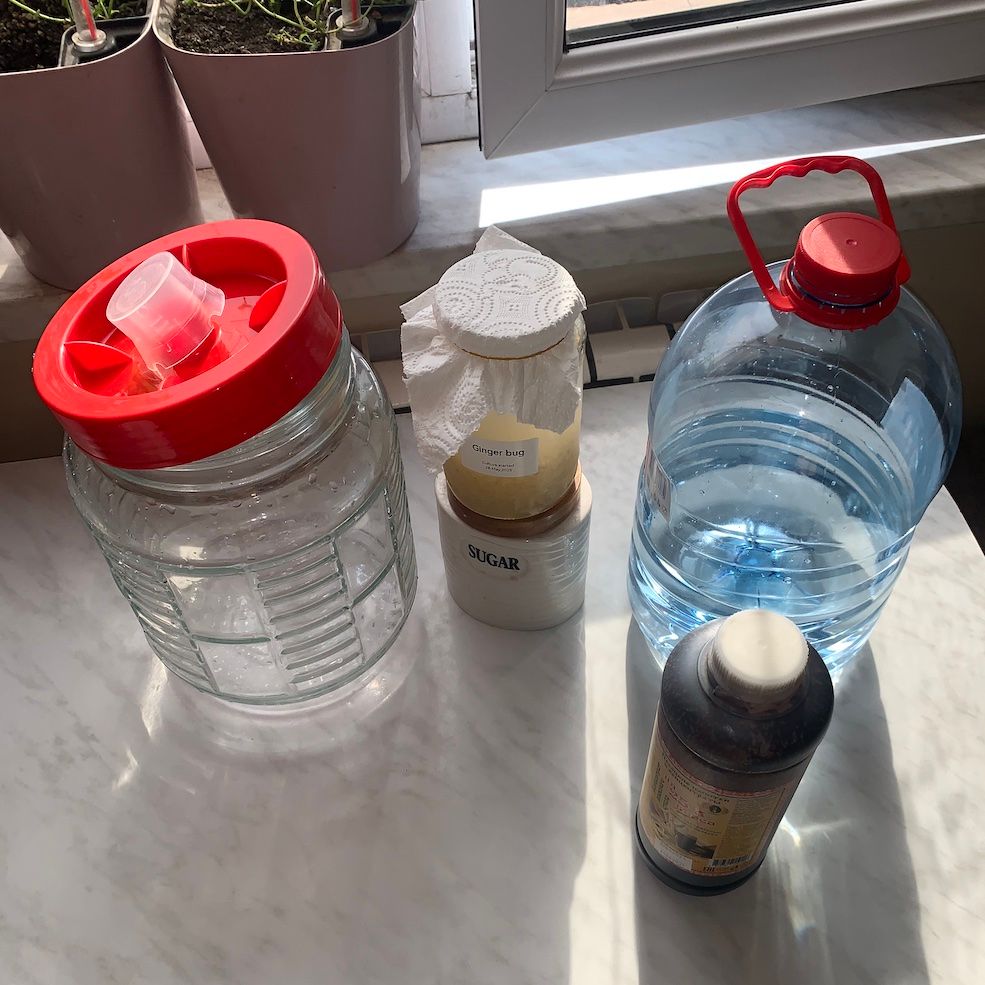
- 180 ml ginger bug
Equipment
- Fine nylon mesh sieve (200+ micron)
- Flip-top bottles
- Glass jar with airlock
- Measurement cup
Steps
Clean your equipment
Wash your jar, tools, and hands well to keep unwanted microbes out.
Add filtered water, sugar, and kvass wort to a jar
This sweet, malty liquid forms the base for fermentation. Use filtered or dechlorinated water — tap water may contain chlorine or chloramine, which can inhibit microbial growth. A weak culture means no fermentation.
Pour in the strained ginger bug and stir to mix evenly
Strain the ginger bug through a fine mesh to remove pulp and solids. This keeps the kvass clearer and reduces mold risk. Stir well to distribute the sugars, kvass wort concentrate and starter evenly.
Add a label to track the fermentation start date
I use a Niimbot thermal label printer to mark the start date. It doesn’t need ink, just thermal paper. And it’s convenient for editing and reusing templates for different drinks. Niimbot B1 label maker on Amazon (affiliate link)
Seal with an airlock and ferment at room temperature for 5–6 days
Cover the fermentation jar with an airlock to keep oxygen out while allowing gas to escape. If you don’t have one, use a cloth and rubber band instead: the risk of mold remains low as long as you strain out all solids and keep the jar clean.
Check daily for activity
Look for bubbles and a light brown foam. Taste a little each day with a clean spoon. The shift from sweet to tangy takes time: in my batch, it started around Day 5.
Bottle when flavor is right
Once it’s lightly sour and balanced, transfer to airtight bottles. Let them sit at room temperature for 1–2 days to build natural carbonation.
Put in fridge and consume within a week
Move the bottles to the fridge to slow fermentation. Open carefully — pressure may build up. Serve chilled and consume within a week for best flavor and fizz.